Pocket Pi
A Raspberry Pi A+ powered portable retro game console. It has a rechargeable battery that is charged via micro USB. Based on an existing design found on Adafruit. I used a 3-D printed case and buttons covers. Also Added additional buttons to support gameplay from more advanced emulators. This project improved my ability to follow and understand schematics and had me practice soldering as well. During the addition of the additional button I had to map the controls for the extra buttons. To do this, I had to find the C file in the image and map the pins to the corresponding button. An idea for improvement is to include WiFi by either buying a module or changing board type to one that has WiFi included. Another area for improvement would be to move the battery away from the speaker in order to reduce the noise effect through the speaker.

3-D Printed Case and buttons
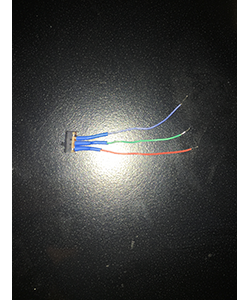
Power switch
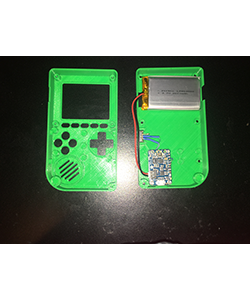
Testing out battery and power switch with charging circuit.
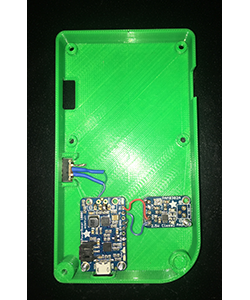
Wiring up the charging circuit up to the audio amplifier.
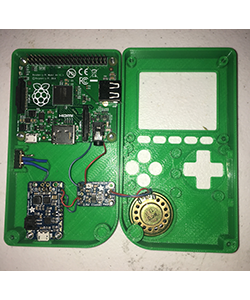
Provided power to Raspberry Pi A+ and audio to amplifier in order to provide audio through speaker.
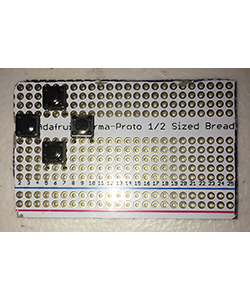
Custom cut a protoboard in order to fit case and use as base for buttons. These are the directional buttons.
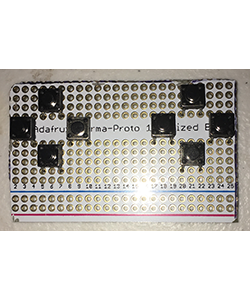
Continued by attaching action buttons.
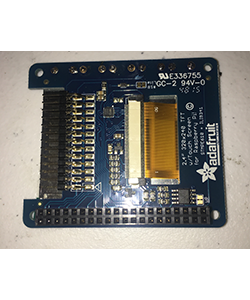
Preparing the lcd screen for installation by applying the header rails.
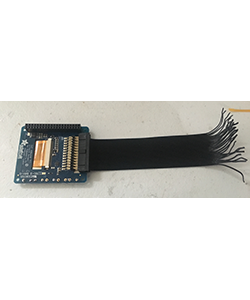
Used a 26 pin GPIO Pi ribbon cable and attached to the header pins to help connect to the Raspberry Pi and power.
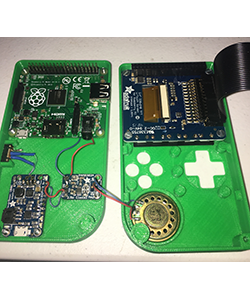
Positioning LCD and mounting with adhesive to casing.
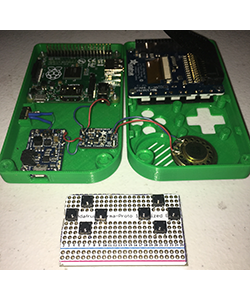
Adjusting wires in preparation to place control board in its spot inside the case.
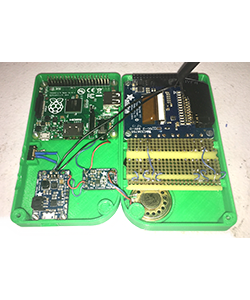
Inserted the control pad board and provided power to the LCD.
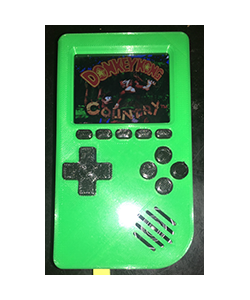
Fully assembled and showing a demo of Donkey Kong for the Super Nintendo game system.
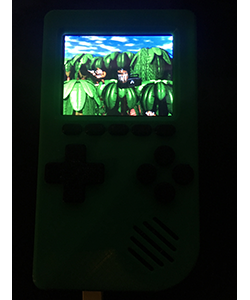
Some gameplay

3-D Printed Case and buttons

Power switch

Testing out battery and power switch with charging circuit.

Wiring up the charging circuit up to the audio amplifier.

Provided power to Raspberry Pi A+ and audio to amplifier in order to provide audio through speaker.

Custom cut a protoboard in order to fit case and use as base for buttons. These are the directional buttons.

Continued by attaching action buttons.

Preparing the lcd screen for installation by applying the header rails.

Used a 26 pin GPIO Pi ribbon cable and attached to the header pins to help connect to the Raspberry Pi and power.

Positioning LCD and mounting with adhesive to casing.

Adjusting wires in preparation to place control board in its spot inside the case.

Inserted the control pad board and provided power to the LCD.

Fully assembled and showing a demo of Donkey Kong for the Super Nintendo game system.

Some gameplay
